Click here to read about installation in ubuntu>>.
Setting Up OpenCV in Visual Studio2012
Before you start
This guide assumes that you have already installed Microsoft Visual Studio 2012 in your computer. The same method is applicable till 2010 also. If you haven’t installed Visual Studio yet download it from the following link Microsoft Visual Studio 2012.

Download OpenCV
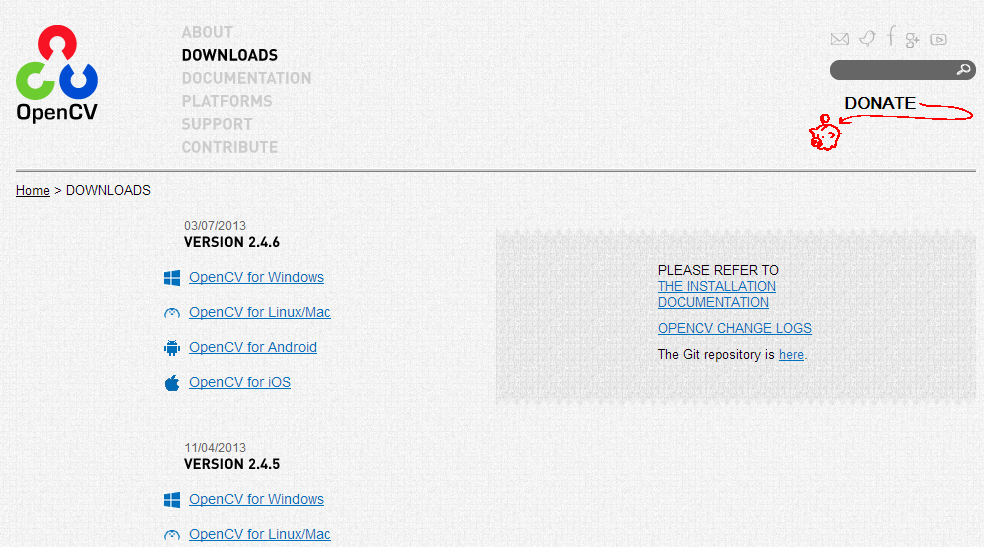
After properly setting up Visual Studio in your computer, The next step is to download OpenCV from the sourceforge site. Its always recommended to download the latest stable release. The beta versions may be under development and so you may download those versions only under your risk. Now follow the link given below to download openCV for Windows. Download OpenCV
Extract OpenCV
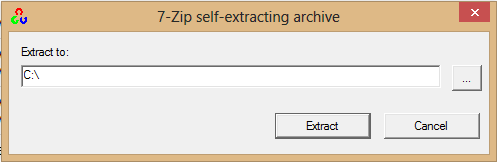
Now run the EXE file that you just downloaded and extract OpenCV. Personally, I recommend that you extract it to the C drive.
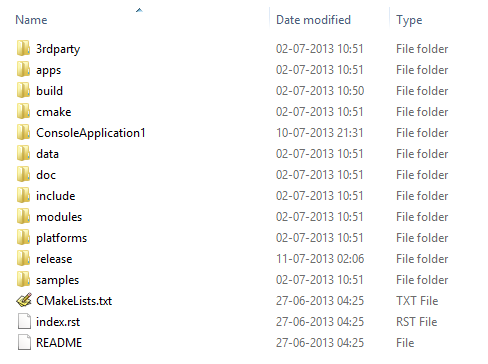
The extraction will take quite a while to complete. Once completed, you may go to the installation directory and make sure that it looks something like this.
Setting the OpenCV Path
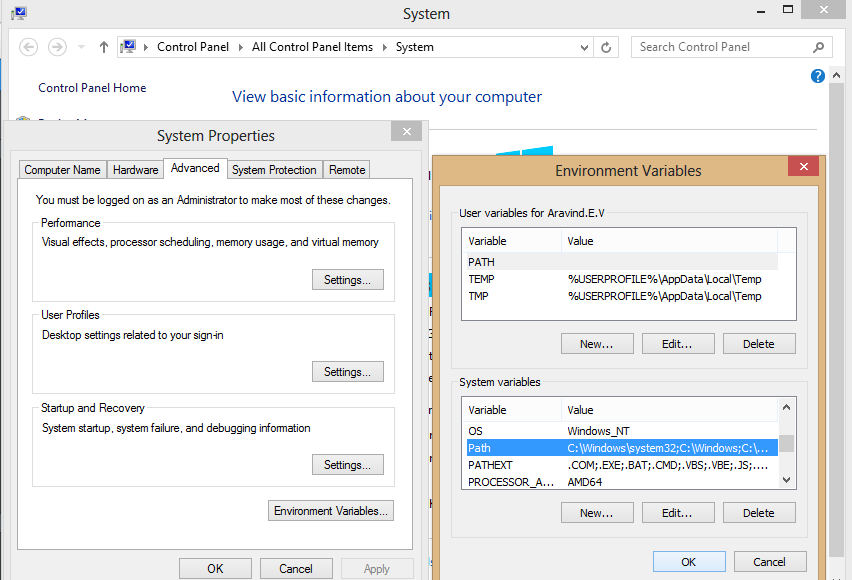
Add the following environment path variables. To add environment path variables follow the below mentioned steps:
1) Right click Computer and take properties.
2) Navigate to advanced system settings and open environment variables.
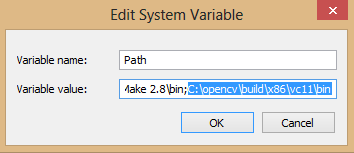
3) Edit the system variable named Path and append the following to the line:
C:\opencv\build\x86\vc11\bin (for 86 bit visual studio)
C:\opencv\build\x64\vc11\bin (for 64 bit visual studio)
Always keep in mind that the 64 bit here doesn’t mean the version of the installed visual studio. Instead, you have to add the 64 bit system variable only if you are developing an application for a 64 bit system. for typical Win32 console projects in Visual Studio you may add the x86 path.
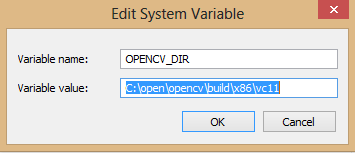
Now add a new system variable with name OPENCV_DIR and path the same as the one to which you extracted OpenCV as shown below.
Configure Visual Studio
Once the system path and new system variable has been added, we can continue to configuring OpenCV in Visual Studio. To get started, open a new project in VS2012 and select Win32 Console Application in the proceeding step. Name the project as you wish and you can select your workspace as you wish. Now click some Next make sure you are creating an empty project. i.e, tick empty project in the wizard as shown below.

Once you have created the new project, go to the Property Manager and open the sheet named Microsoft.Cpp.Win32.user.
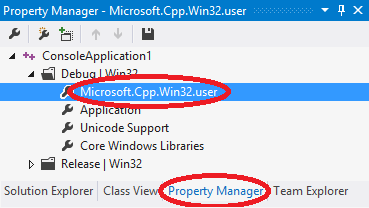
Now expand the property named the same as your project and double click on release.
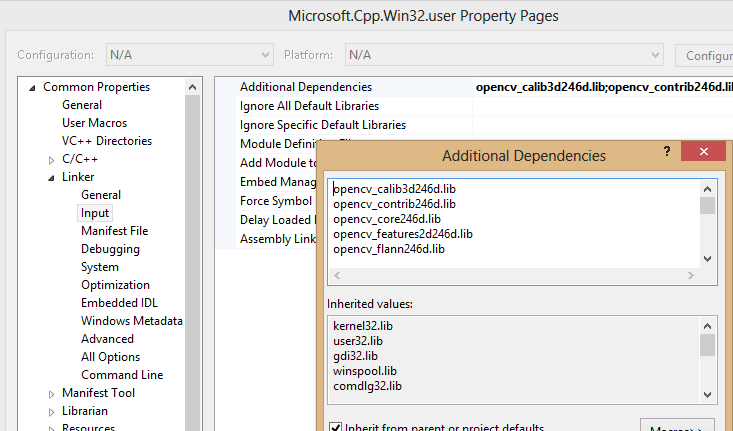
Go to Linker -> General -> Additional Library Directories. Add this path over there:
$(OPENCV_DIR)\lib;Next go to Linker -> Input -> Additional Dependencies and add the following:
NOTE: Here “246”is the installed version of opencv. for eg., we use”246″ in the case of OpenCV 2.4.6Also
opencv_calib3d246d.lib
opencv_contrib246d.lib
opencv_core246d.lib
opencv_features2d246d.lib
opencv_flann246d.lib
opencv_gpu246d.lib
opencv_haartraining_engined.lib
opencv_highgui246d.lib
opencv_imgproc246d.lib
opencv_legacy246d.lib
opencv_ml246d.lib
opencv_nonfree246d.lib
opencv_objdetect246d.lib
opencv_ocl246d.lib
opencv_photo246d.lib
opencv_stitching246d.lib
opencv_superres246d.lib
opencv_ts246d.lib
opencv_video246d.lib
opencv_videostab246d.lib
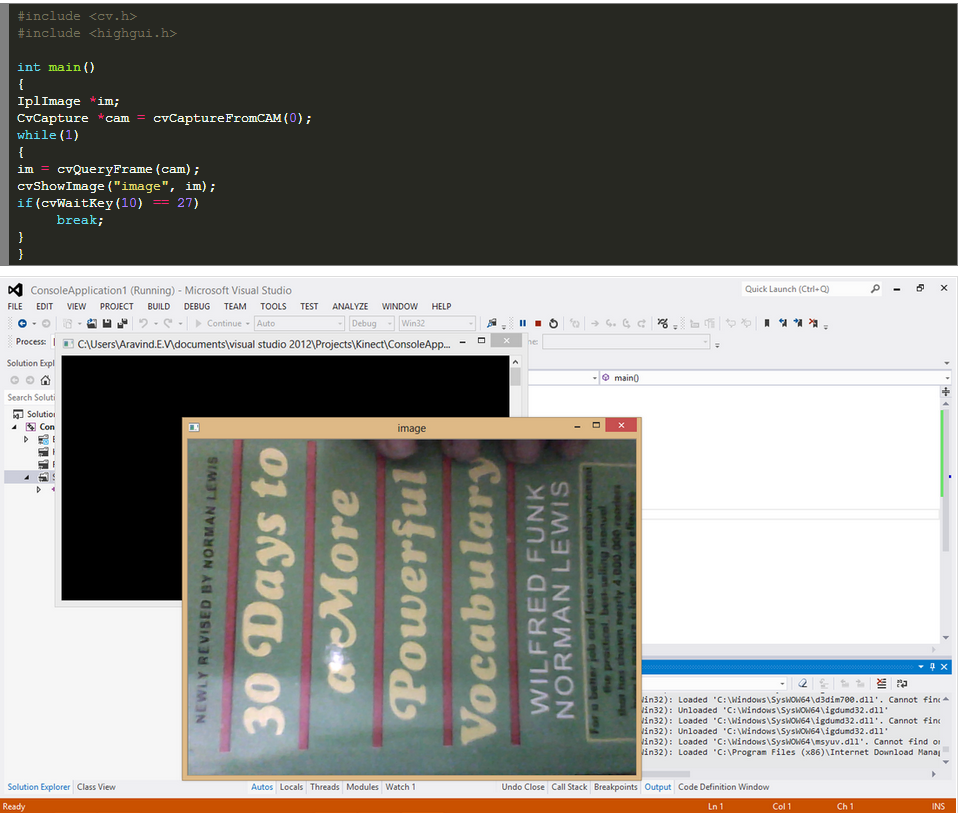
Test your installation
Now Inorder to test whether the installation was proper, you may copy the following code to your project either in Visual Studio in the case of windows or CodeBlocks in the case of Linux. Build and run the code.
For most recent information you have to visit internet and on world-wide-web I found this website as a finest web site for hottest updates.